Egypt is a land of rich history, breathtaking landscapes, and vibrant culture. Whether you're planning to explore the Pyramids of Giza, cruise the Nile, or attend a business meeting in Cairo, you’ll likely need a visa before traveling. This guide walks you through the steps to secure your Egyptian visa and how Grey simplifies your payments during the process.
Also read: Top 5 underrated digital nomad visa destinations
Obtaining an Egyptian visa is a straightforward process, whether applying online, on arrival, or through the embassy
Egypt offers different types of visas based on your purpose of travel:
To apply for an Egyptian visa, you will need a valid passport with at least six months' validity, a completed visa application form, and recent passport-sized photographs. You must also provide flight and hotel bookings, proof of financial means such as bank statements, and payment for the visa application fee. If applicable, an invitation letter from your host may also be required.
You can apply through:
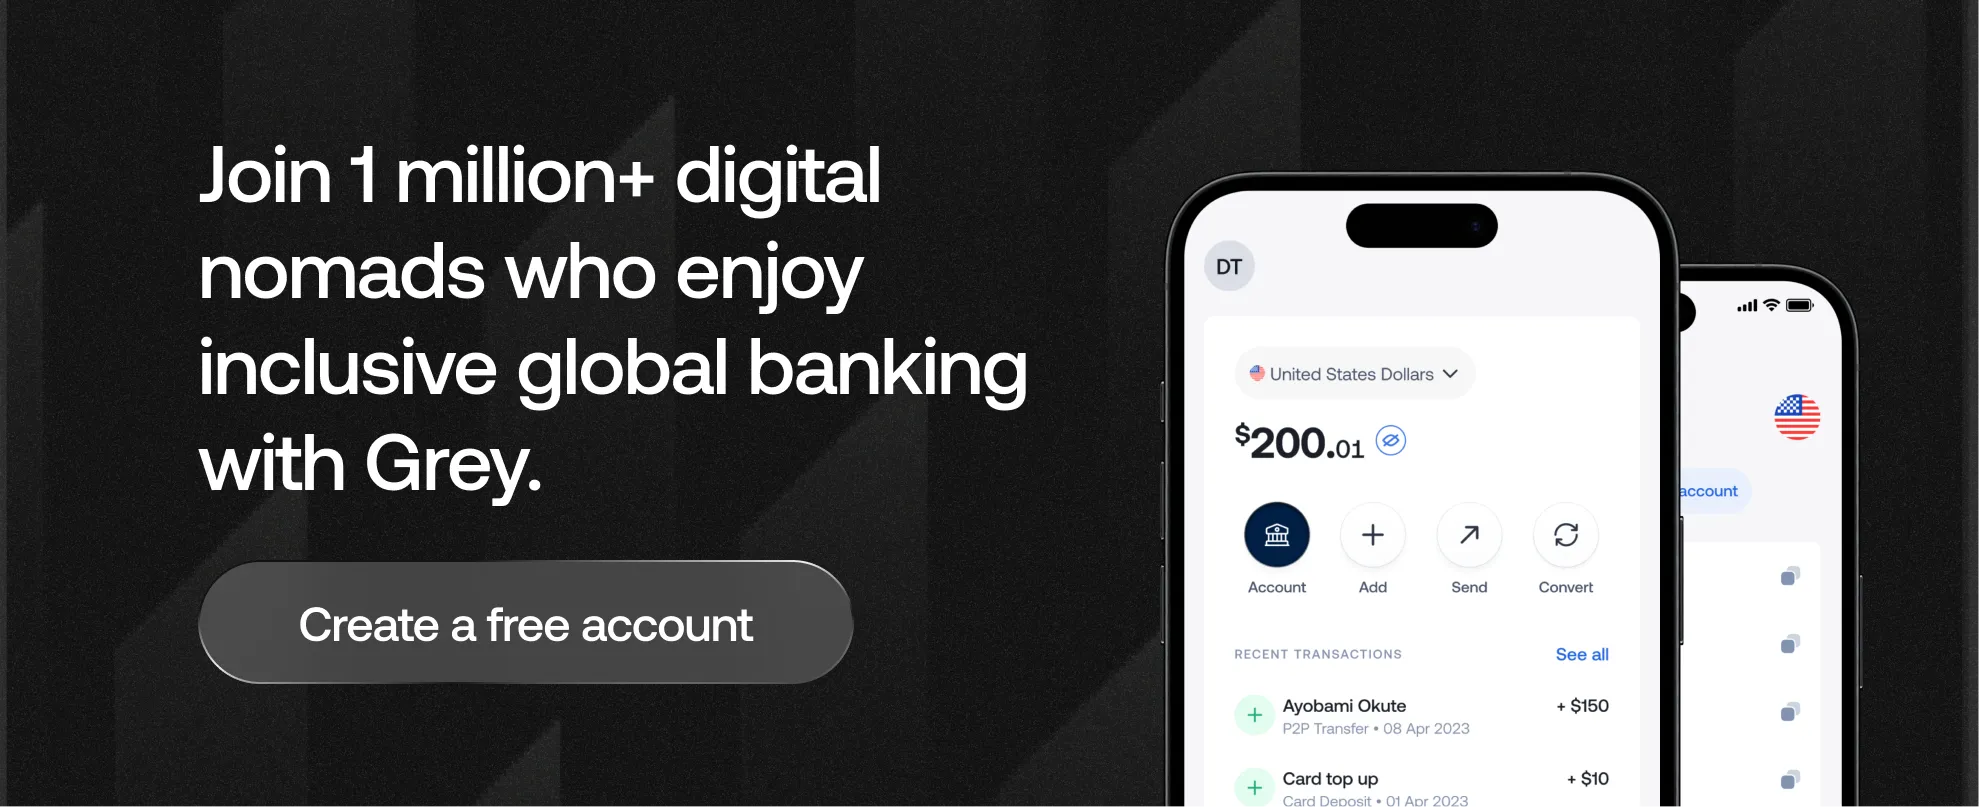
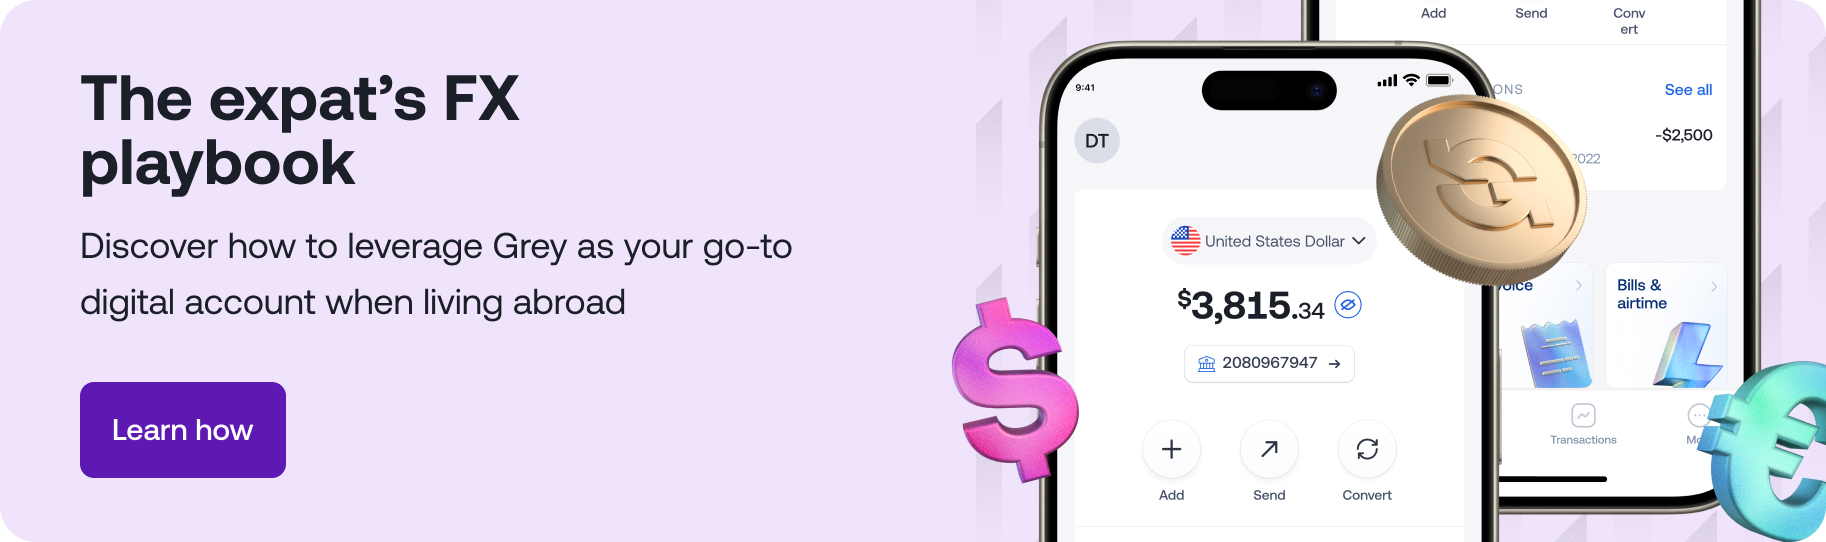
Visa fees vary based on your nationality and visa type. Payments are often required in USD, EUR, or GBP which can be a hassle if you don’t have the right currency. This is where Grey makes things easier. Instead of worrying about exchange rates or bank restrictions, use your Grey multi-currency account to pay embassy fees in foreign currency seamlessly.
Also read: How to open US bank accounts in Egypt
Processing usually takes 3-10 business days. Track your application status online or contact the embassy for updates.
Once approved, download your e-visa or collect your stamped passport from the embassy. Upon arrival, present your visa, passport, and supporting documents at immigration.
Also read: How to create a foreign currency account in the Middle East and North Africa
Egypt is a must-visit destination, rich in history, culture, and breathtaking sights. With Grey, you can conveniently pay for your Egyptian visa and manage international transactions seamlessly. Download the Grey app and create an account today and enjoy a hassle-free travel experience


.svg)
Back to top